My Tuesdays always seem to start way too early – the oldest has to be at school for band practice by 7:00a.m. Last night I forgot to set my early alarm, so he had to hustle and probably didn’t leave until 7:00 a.m. This seemingly did not bode well for my productivity today.
Much to my surprise, I found my inner Martha Stewart and dug deep for my own hustle. Multiple loads of laundry washed and folded – check. Coconut cookies freshly baked – check. Dishwasher emptied, loaded, and hand-washed items scrubbed in the sink – check. Bathroom glistening (okay, maybe not quite glistening, just clean) – check.
Then I decided to work on my beeswax wrap project mentioned a few days ago. Our friends at Dickey Bee Honey kindly gifted me with a huge block of beeswax. (Beeswax smells amazing, my dears!) Many instructions will recommend pine resin or jojoba oil for flexibility – I didn’t bother this time, but am sure the ones I’ve purchased have one or the other or both.
I hauled out all my supplies:

- grater
- beeswax
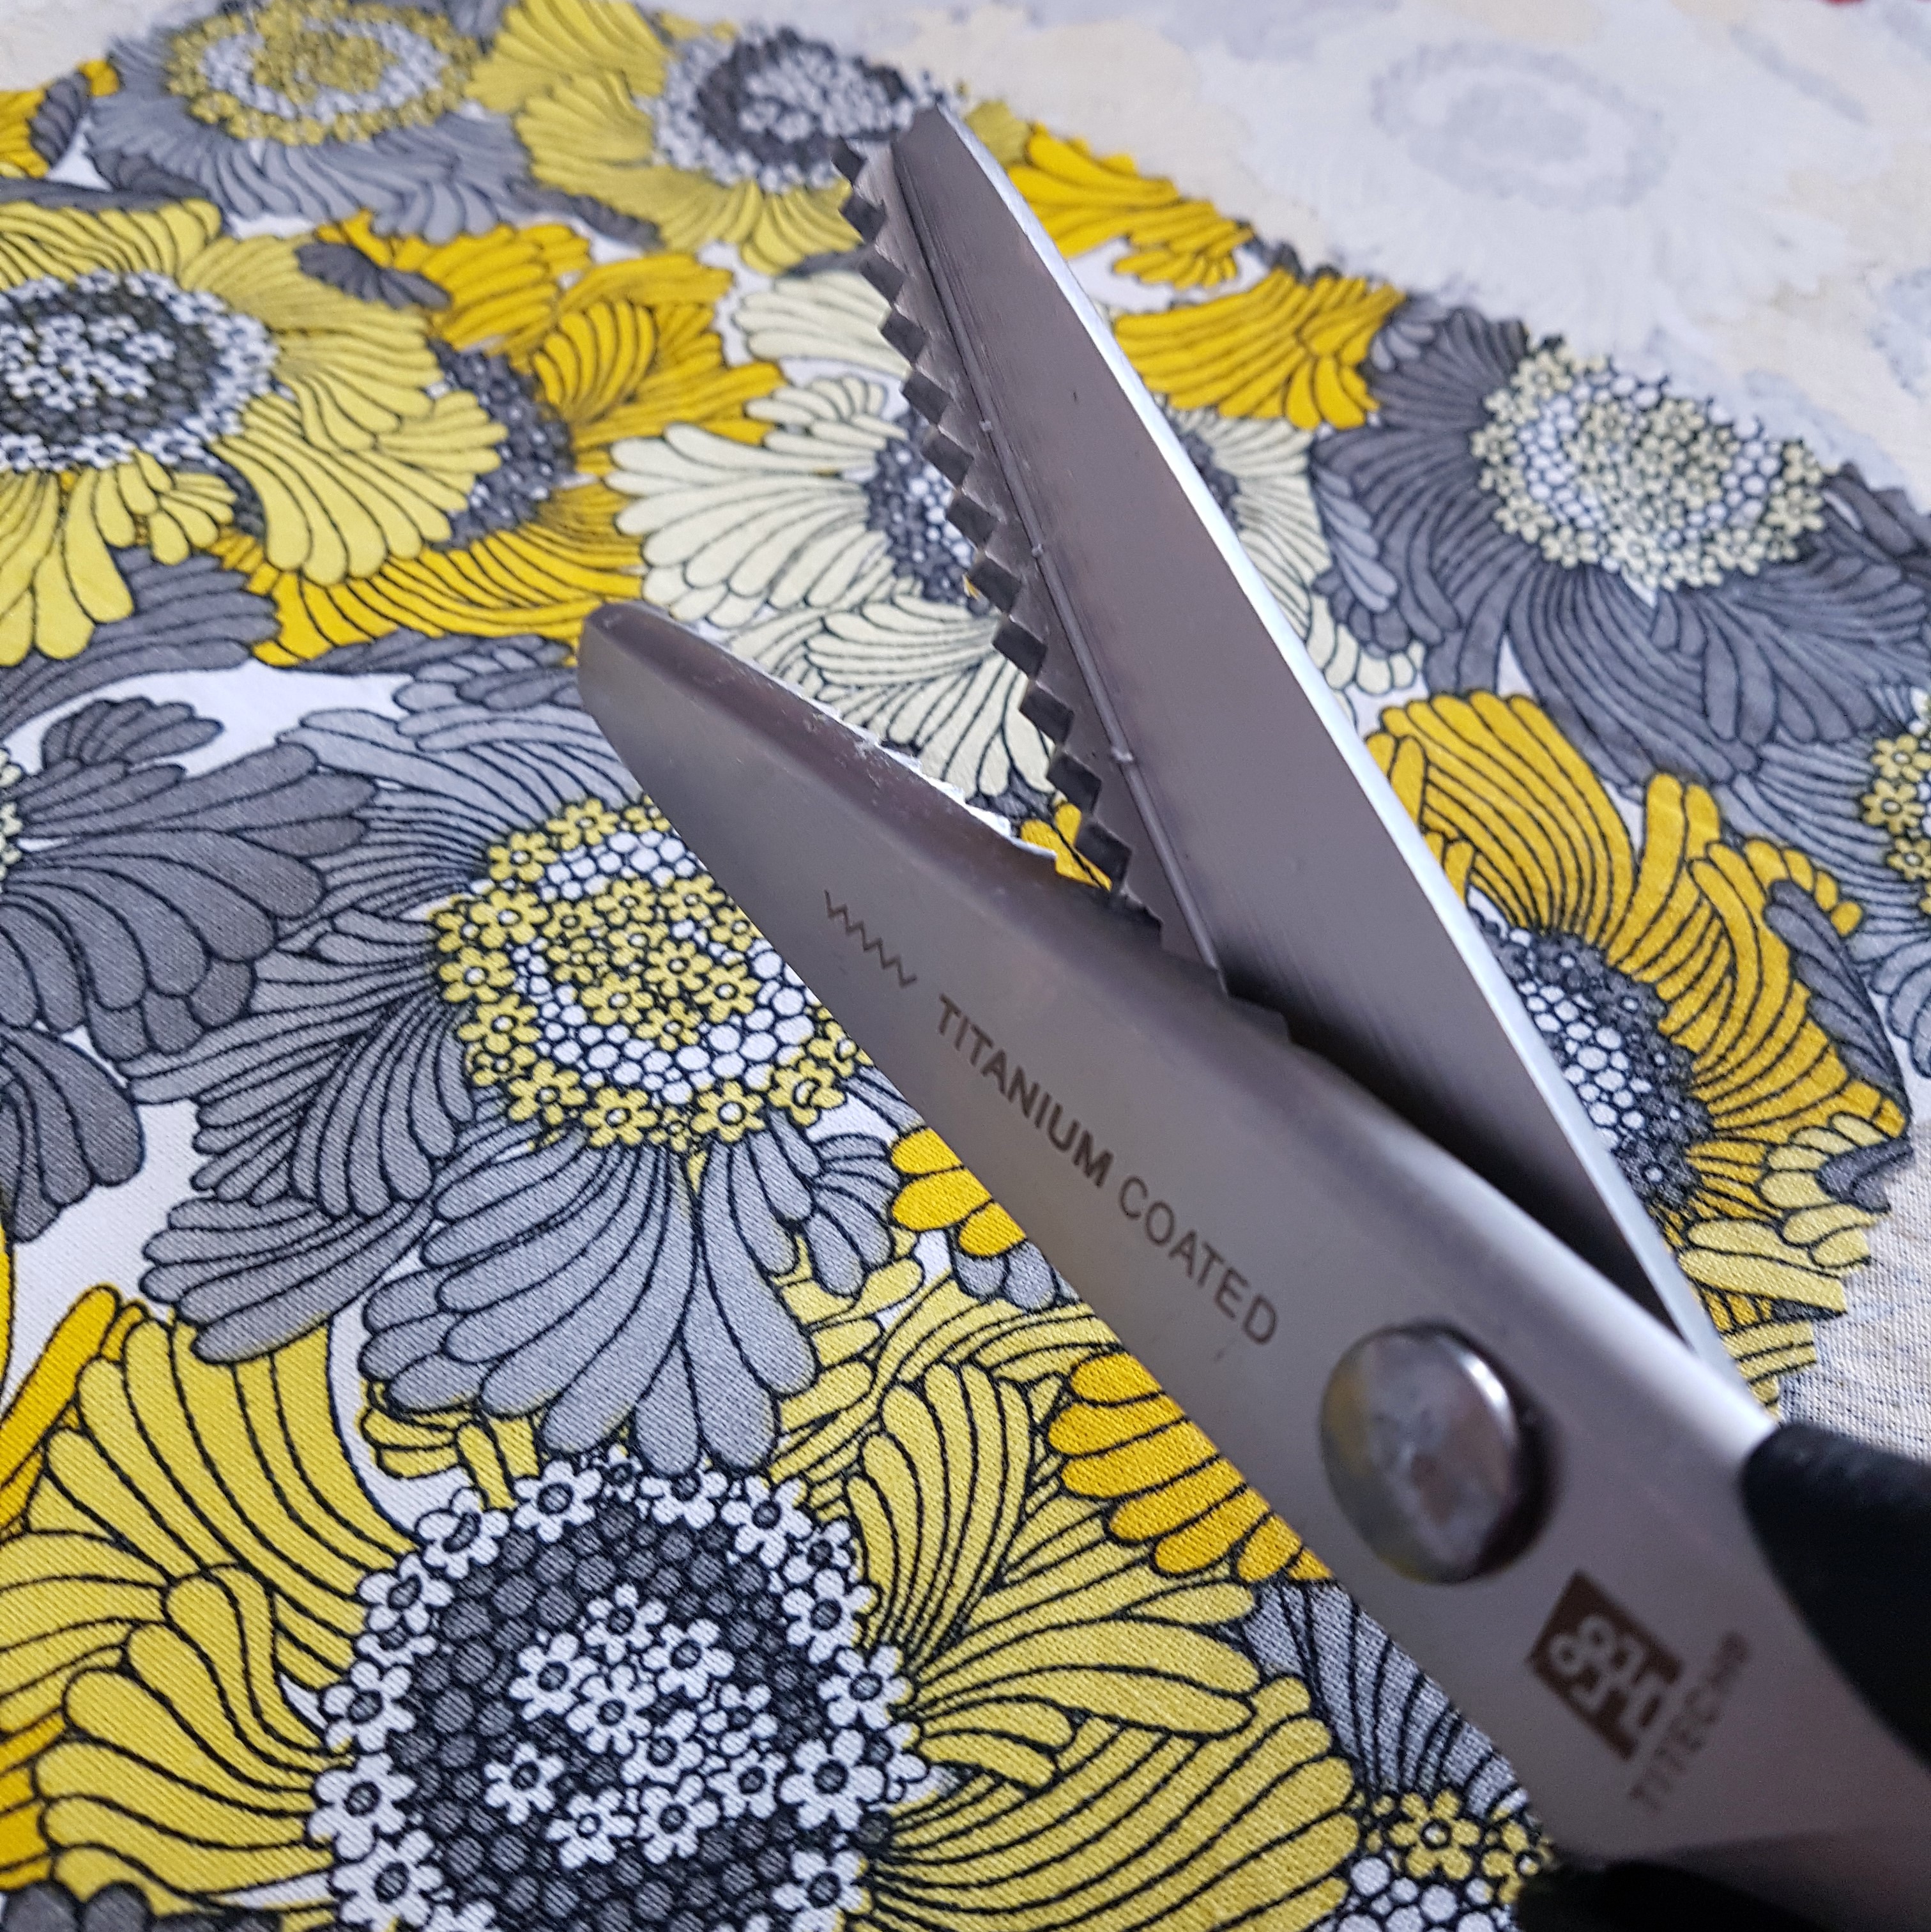
- pinking shears
- iron
- parchment paper
- baking trays
- fabric
- Multiple DIY Beeswax Wrap Tutorials open & ready for reference (I used this one from DIY Natural and this one from Apartment Therapy
I began by ironing my fabric – I suppose I actually started by washing my fabric and hanging to dry, but I did that days ago so it doesn’t seem to count. (If you’re going to give this a try, make sure your fabric is clean whether it’s brand new, recycled, or been sitting in your basement for years!)

Once I got all the wrinkles out, I used pinking shears to trim off each side of the fabric (especially the unfinished ends) and cut each piece to size. I wanted two wraps large enough for a casserole dish, one for a large plate or bowl, and a few smaller ones with the remaining scraps.
I had those coconut cookies baking away in batches while attempting this project, so I left the oven on to try both the iron method and the oven method. (I preferred the oven method, but could only do my smaller wraps this way.)
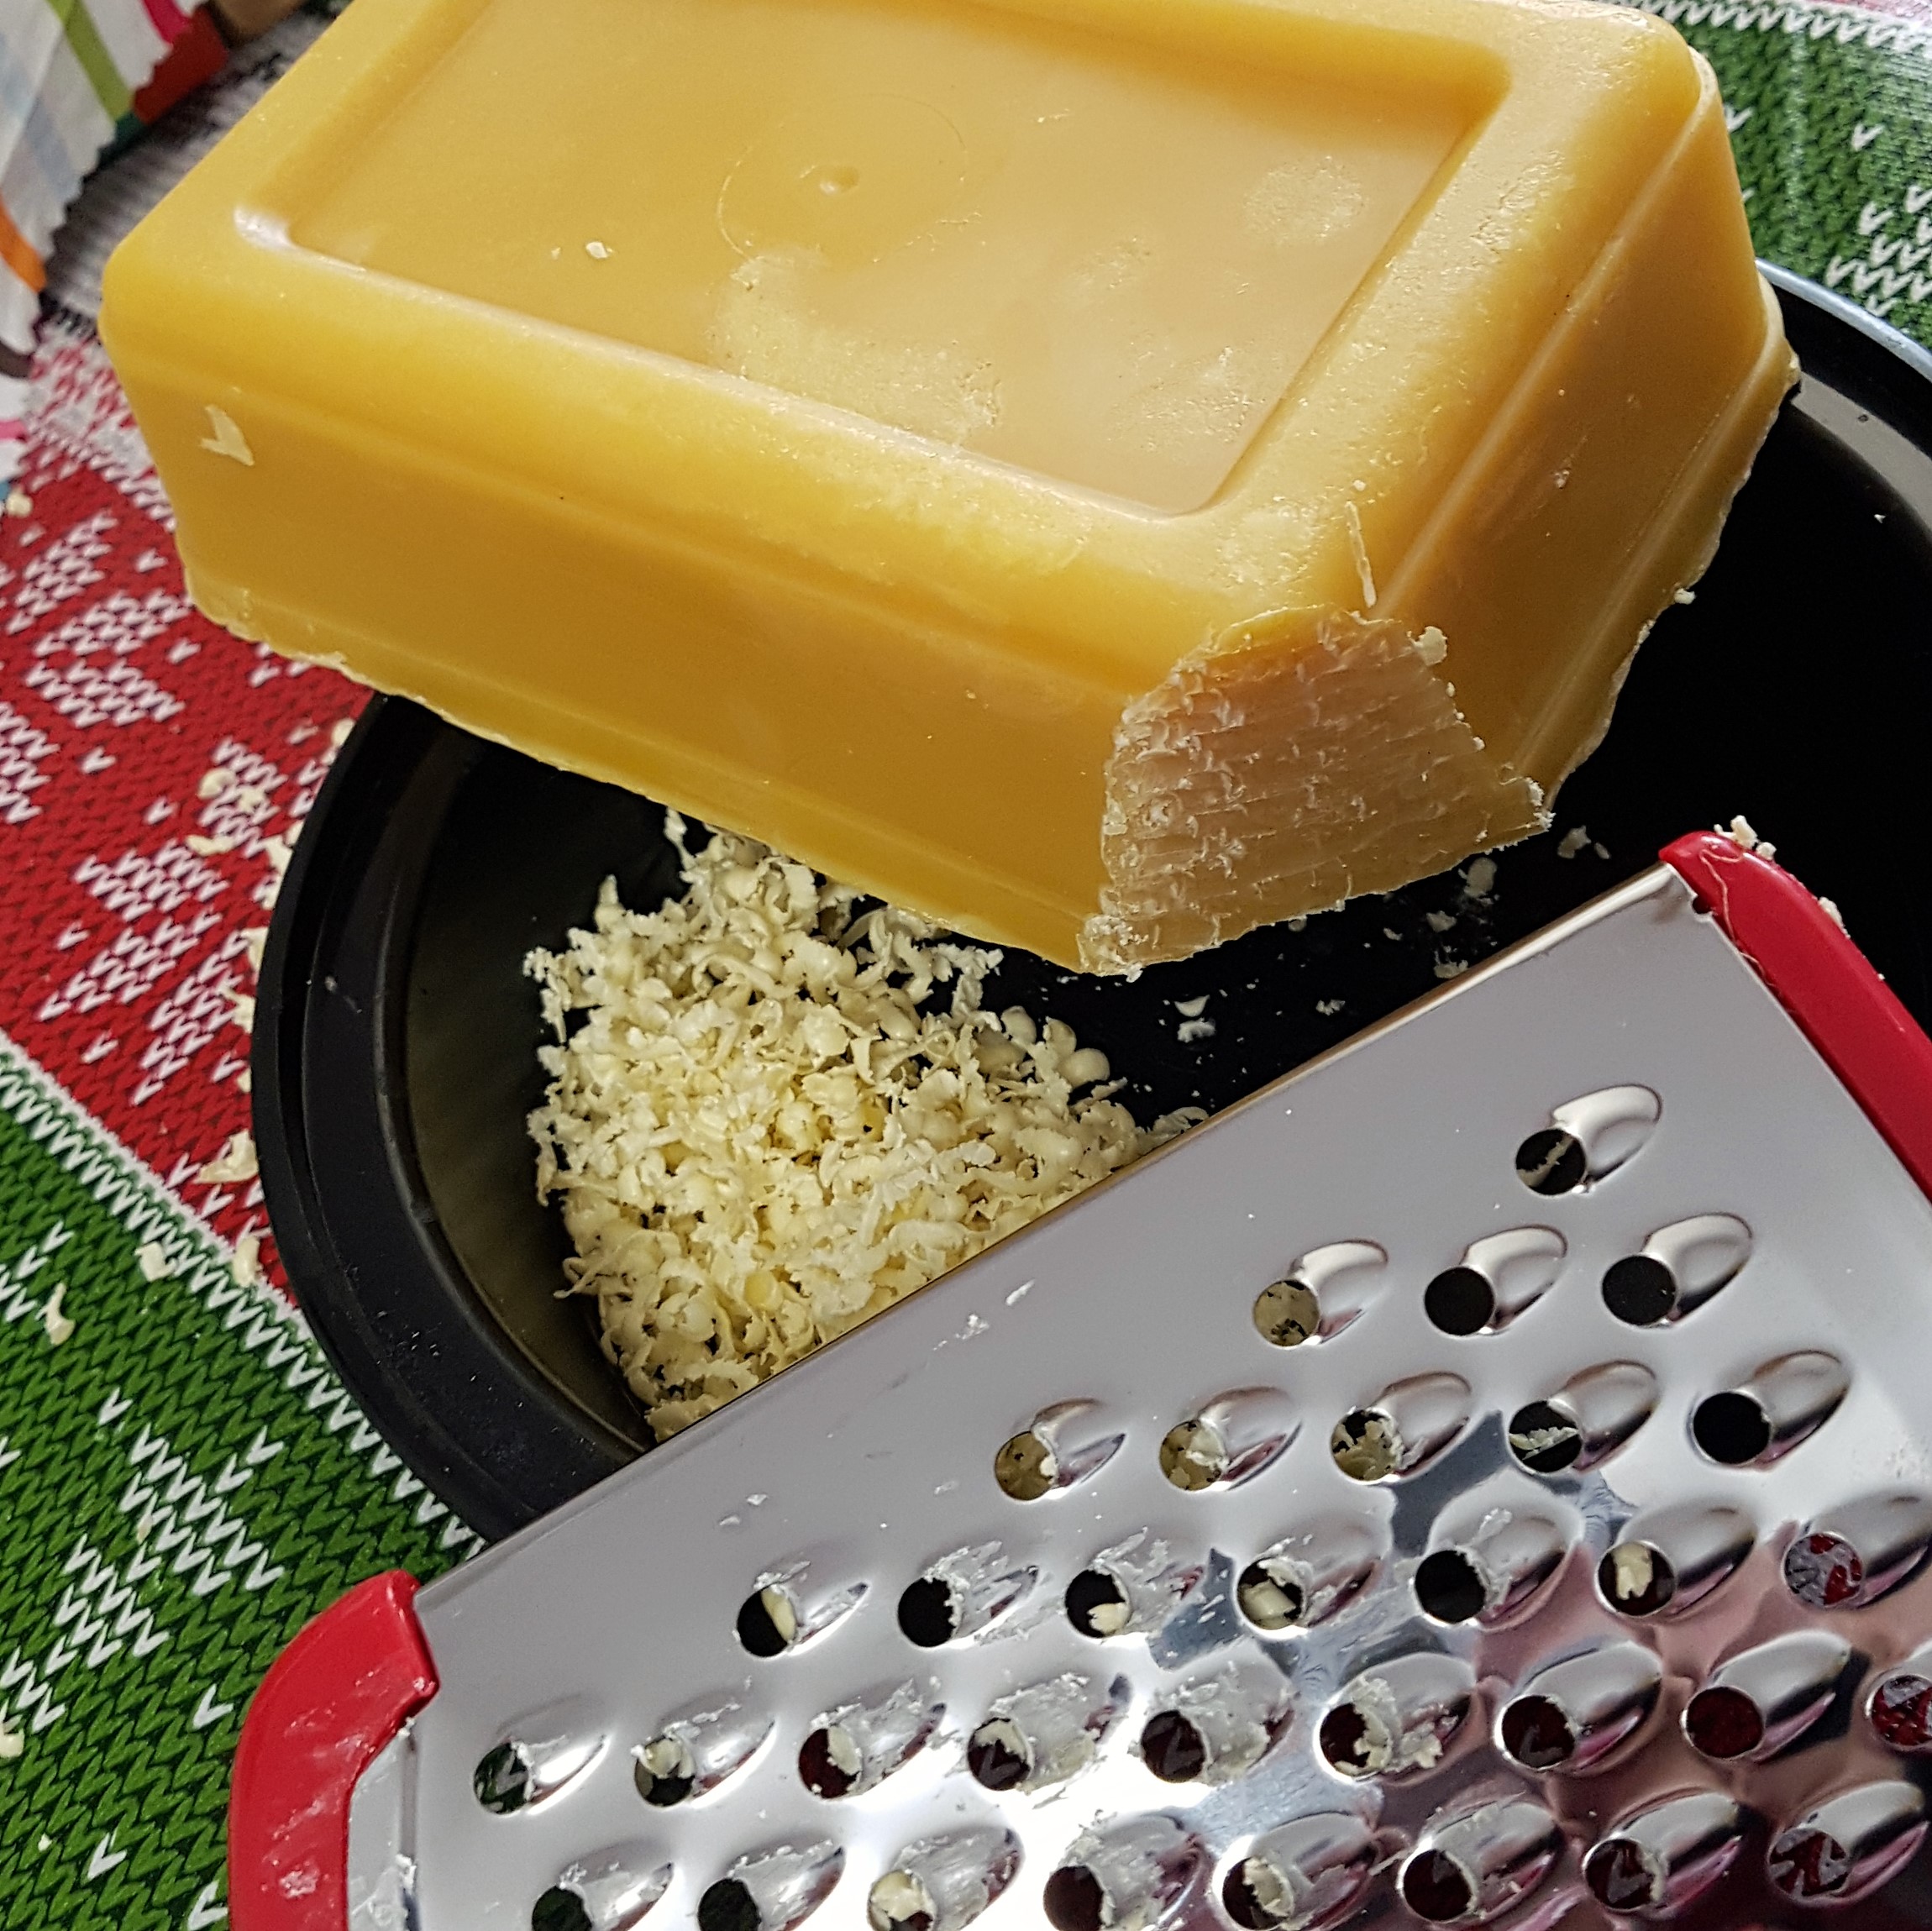
Get your grater out and prepare for some arm workouts. Shredding beeswax is not as easy as shredding cheese. I actually wanted to give up at this point (seriously.) If you have a secret for making it easy, let me know?!? Otherwise, if I were to attempt this again, and didn’t have beeswax readily available, I’d invest in beeswax beads or pellets. You need enough grated beeswax to sprinkle over your fabric pieces generously (but not too generously – it will melt and spread.)
For the iron method, line a baking sheet with parchment and lay your fabric on top. Add prepared beeswax all over and cover with a second sheet of parchment. Using your preheated iron, melt the wax between the parchment trying to avoid getting wax on your iron. (Not that I did this. It might wreck the iron, you know!) You will be able to see the wax melting and spreading – make sure it saturates your fabric and use your iron to “push” any puddles around to thinner areas. Once your fabric is completely covered, gently peel off the parchment and find somewhere to hang to dry.

For the oven method, preheat your oven to 200F. Line your baking tray with parchment and lay your fabric on top. Sprinkle with prepared beeswax and place in the oven for approximately 5 minutes. After 5 minutes, check to see how things are melting. It may need a few more minutes. If parts of your fabric are not saturated, use a brush (I used a silicone basting brush) to spread the melted wax – you may need to add a few more sprinkles and return to the oven to melt. Once your fabric is saturated, peel off the parchment and add to the hanging collection to dry. Be cautious with both methods – the beeswax can be hot! (It smells good though and your fingers will feel super smooth.)
Once your wraps are dry, feel free to inspect for any “dry” spots where the wax didn’t saturate as much as you like. Add more shavings and either pop it back in the oven for a minute or pull out your iron. If you have wax pooling on your parchment at any point, you can use some fabric to sop it up.
Your wraps are now finished and ready to use! Admire how beautiful they are. Pat yourself on the back for not spilling hot beeswax all over the floor or your kitchen table.

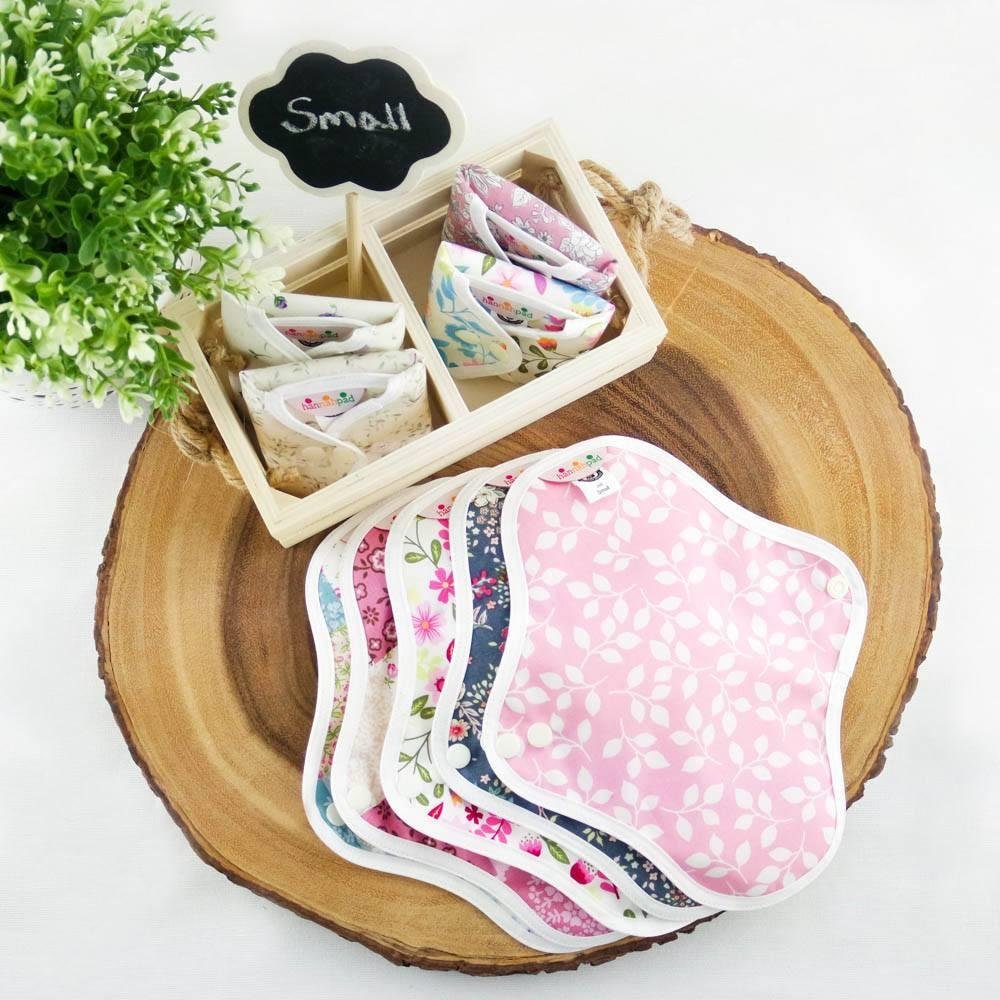
Findings? I like the ones I purchased better – they’re a little more flexible and a lot less work. However, these will do quite nicely for my desired purposes and they did use up materials I had on-hand. I think the added ingredients suggested in other “recipes” (oil, resin) add to the flexibility and I know there are a number of other tutorials out there that can give you directions. As for method, I actually preferred the iron method – there was something satisfying about watching the wax melt and smear, but I may not have been cautious enough and think the iron may now have a layer of beeswax stuck to the bottom. I should probably peel that off before Kevin next irons a shirt!